The first time I made Cherry Cheesecake Cookies, it was a chilly winter evening, and I was craving something sweet but different from the usual cookies. I wanted the richness of cheesecake and the comforting texture of a soft cookie all in one bite. As I pulled the cookies from the oven, the scent of vanilla and cherries filled my kitchen, and I knew I had discovered something special. The first bite? Absolute heaven—chewy, creamy, and bursting with cherry goodness. Ever since then, these cookies have been a staple in my baking routine, perfect for holidays, family gatherings, or just a cozy night in.
Cherry Cheesecake Cookies Recipe
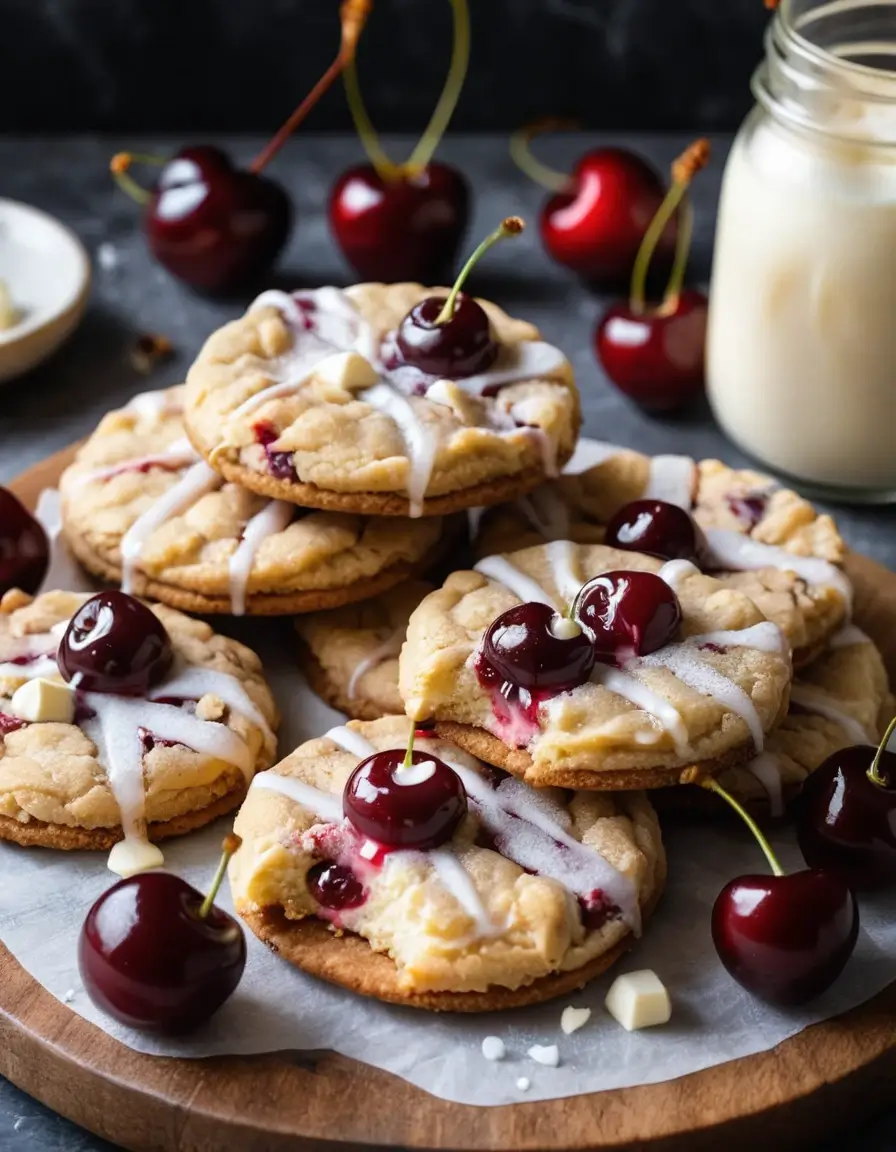
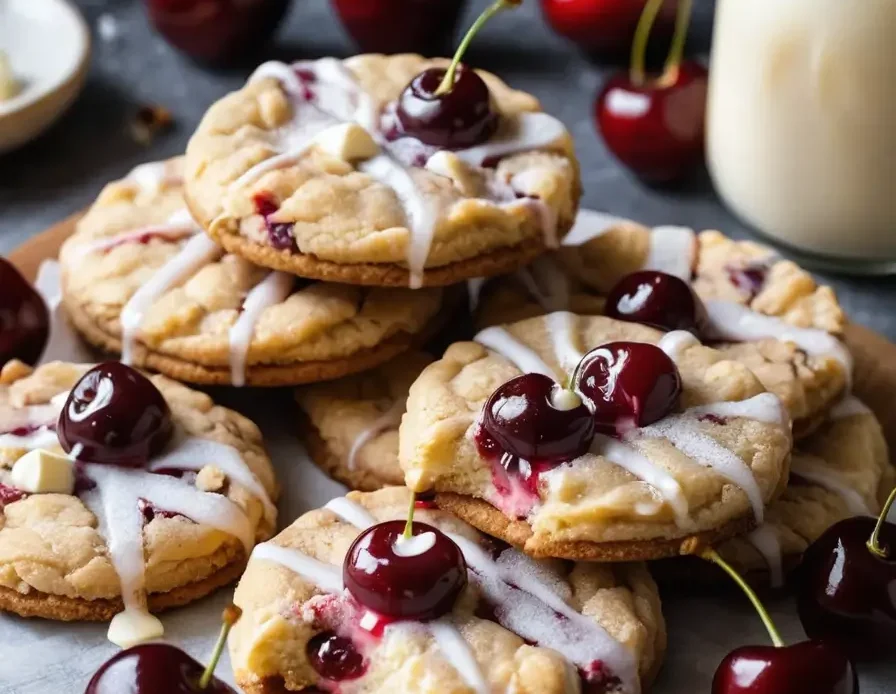
If you love cheesecake and cookies, you’re in for a treat! These Cherry Cheesecake Cookies combine the creamy richness of cheesecake with the soft, buttery goodness of cookies. Each bite is loaded with cherry flavor, making them an irresistible dessert for any occasion. Whether you’re baking for a party, holiday, or just indulging in a sweet craving, these cookies will be your new favorite!
Ingredients:
- 1/2 cup (1 stick) unsalted butter, softened
- 4 oz cream cheese, softened
- 3/4 cup granulated sugar
- 1 large egg
- 1 teaspoon vanilla extract
- 1 1/2 cups all-purpose flour
- 1 teaspoon baking powder
- 1/2 teaspoon salt
- 1/2 cup graham cracker crumbs
- 1/2 cup cherry pie filling
- 1/2 cup white chocolate chips (optional)
- 1/2 teaspoon almond extract (optional for extra flavor)
Instructions to make Cherry cheesecake cookies:
- Preheat the Oven: Set your oven to 350°F (175°C) and line a baking sheet with parchment paper.
- Cream Butter and Cream Cheese: In a large bowl, beat together the butter, cream cheese, and sugar until smooth and creamy.
- Add Wet Ingredients: Mix in the egg, vanilla extract, and almond extract until fully combined.
- Combine Dry Ingredients: In a separate bowl, whisk together flour, baking powder, salt, and graham cracker crumbs.
- Mix the Dough: Gradually add the dry ingredients to the wet ingredients, stirring until a soft dough forms.
- Shape the Cookies: Scoop out tablespoon-sized portions of dough and place them on the baking sheet. Gently flatten each one.
- Add the Cherry Filling: Use a spoon to create a small indentation in the center of each cookie and fill it with a teaspoon of cherry pie filling.
- Bake to Perfection: Bake for 12-15 minutes or until the edges are lightly golden. Let them cool on the baking sheet for a few minutes before transferring to a wire rack.
- Drizzle with White Chocolate (Optional): If using, melt white chocolate chips and drizzle over the cooled cookies for an extra touch of sweetness.
- Enjoy! Serve these delicious Cherry Cheesecake Cookies with a glass of milk or a cup of coffee.
Tips for the Best Cherry Cheesecake Cookies:
- Use room temperature ingredients for a smoother dough.
- Don’t overbake—these cookies should be soft and slightly chewy.
- For extra flavor, add a pinch of cinnamon to the dough.
- Swap the cherries for blueberries or strawberries for a fun twist!
- For a crunchy texture, add chopped nuts like almonds or pecans to the dough.
Why You’ll Love These Cherry Cheesecake Cookies:
These Cherry Cheesecake Cookies offer the best of both worlds—soft, buttery cookies with the creamy, tangy taste of cheesecake and a burst of cherry goodness in every bite. They’re easy to make, require simple ingredients, and are sure to be a hit at any event!
How to Store Cherry Cheesecake Cookies:
- Refrigerate: Store cookies in an airtight container in the fridge for up to 5 days.
- Freeze: Place in a freezer-safe bag and freeze for up to 3 months. Let them thaw before serving.
- Reheat: Enjoy chilled or warm them in the microwave for a few seconds.
Cherry cheesecake cookes are Perfect for Any Occasion
These Cherry Cheesecake Cookies are perfect for holidays, potlucks, bake sales, birthdays, Valentine’s Day, or just a sweet treat at home. Whether you’re a cheesecake lover, a cookie enthusiast, or both, you’ll fall in love with their rich, melt-in-your-mouth texture and sweet cherry topping. They also make a great gift—just pack them in a festive tin or wrap them up for a thoughtful homemade present!
If you like this recipe you’ll love the Apple Banana Pancakes